To use Highly Regulated Identity features, you must have an Enterprise Plan with the Highly Regulated Identity add-on. Refer to Auth0 Pricing for details.
authorization_details parameter is a JSON array of objects. You can render the authorization_details, containing transaction details, in a consent prompt to the user in challenges.
To configure Rich Authorization Requests for a , you must:
- Configure the consent policy for the resource server.
- Register
authorization_detailstypes for the resource server. - Set the customized consent prompt to render the
authorization_details.
Configure consent policy for the resource server
The resource server’s consent policy determines when and how Auth0 renders the Rich Authorization Request and shows the consent prompt to the user. The table below summarizes Auth0’sstandard consent policy behavior for a resource server that accepts Rich Authorization Requests:
| Is it a Rich Authorization Request? | MFA Required? | Consent policy is standard or undefined |
|---|---|---|
| No | No | Standard consent is shown unless there is a grant that includes the requested access. |
| Yes | No | Customized consent is shown. |
| Yes | Yes, with an authentication factor that is not a push notification | Customized consent is shown after the user fulfills the MFA challenge. |
| Yes | Yes, with a push notification factor | No consent is shown. The consent is handled in the mobile application that receives the push notification challenge. |
- Auth0 Dashboard
- Management API
Set the consent policy in your API settings using the Auth0 Dashboard.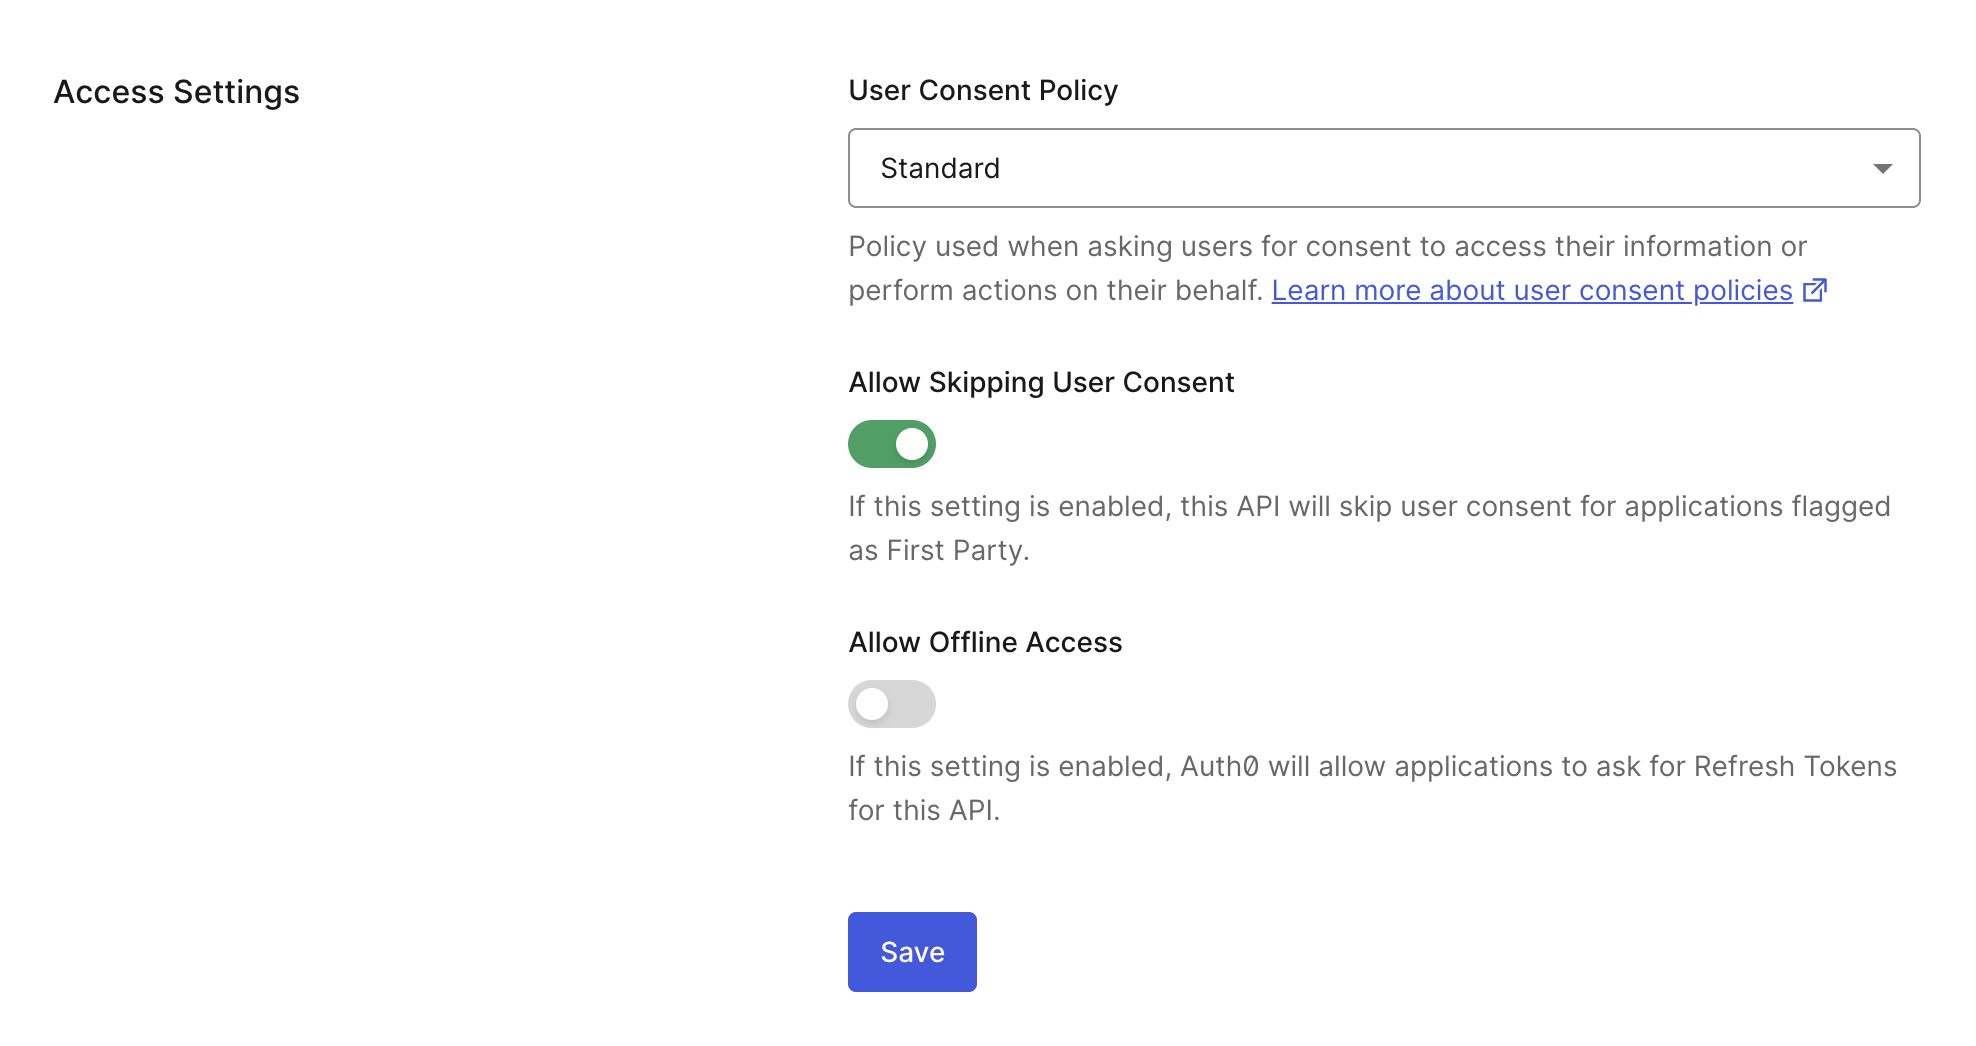
- Navigate to Auth0 Dashboard > Applications > APIs.
- Select the Settings tab.
- Under Access Settings, choose the Standard consent policy.
- Save your changes.
Register authorization_details types
The type field determines the customizable object fields. An authorization_details array may contain multiple entries of the same type.
You must register authorization_details types for a resource server, which is similar to registering allowed scopes.
Auth0 Guardian app
If you’re using the Auth0 Guardian app, then theauthorization_details types must use the Auth0 schema. The Auth0 schema has the following fields:
| Field | Description | Example |
|---|---|---|
type | Specifies the type of authorization request:
| urn:auth0:schemas:authorization-details:v1:user-profile |
instruction | A human-readable message to the user approving the request. | Please approve the request |
properties | A JSON object containing the specific user attributes or claims being requested. Each key (e.g., email, full_name) represents a particular user profile field:
| "properties": { "stringPropertyForDisplay": { "display": true, "name": "A String:", "display_order": "1", "value": "Value 1"} } |
Other notification channels
If you’re not using the Auth0 Guardian app, then theauthorization_details types does not need to use the Auth0 schema. Instead, they must follow these requirements:
- Maximum 5Kb
- Must be valid JSON
- Must be an array of objects
- Maximum of 5 entries in the array
- Every object must have a
typeproperty (that is pre-registered on the API) - Maximum of 10 properties per object
- Maximum character length of property names is 255
- Maximum character length of property value is 255
- Maximum of 5 levels of nested objects
- Property names can only contain the following characters:
a-zA-Z0-9_.-
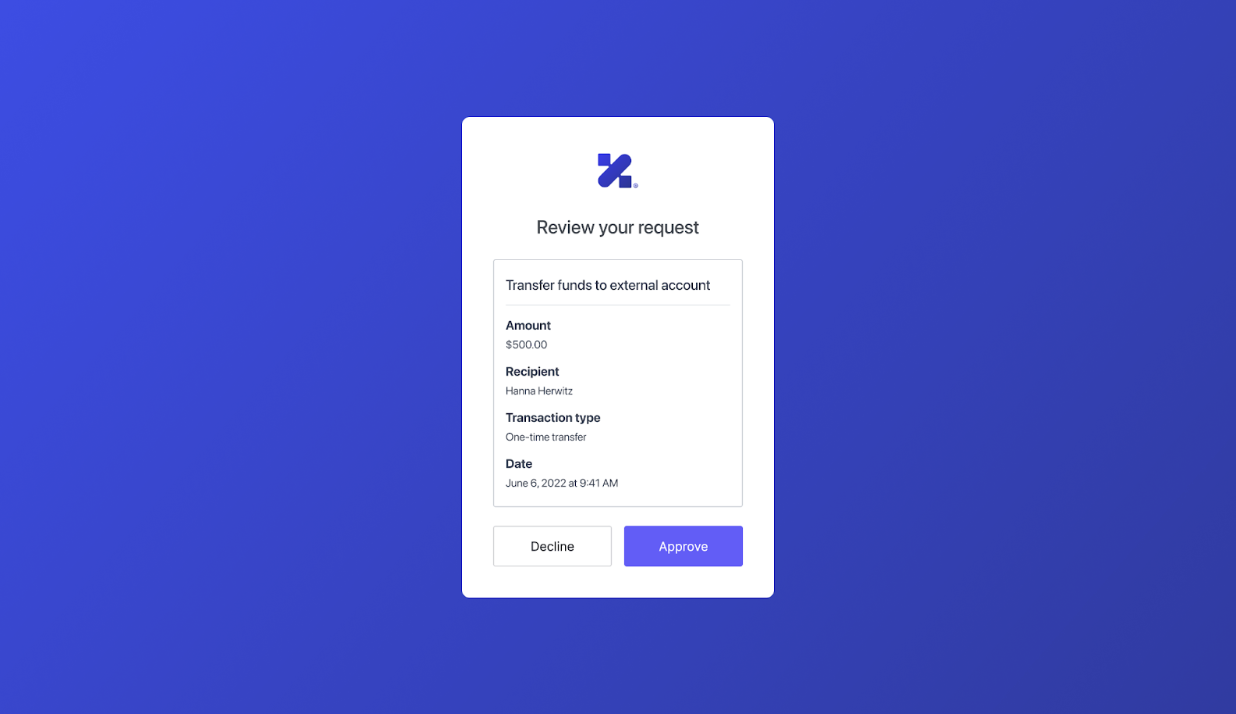
authorization_details of type money_transfer that does not use the Auth0 schema. It contains the following object fields:
instructedAmount: The amount of money in USD to be transferred.sourceAccount: The source bank account from which the money will be transferred.destinationAccount: The destination bank account to which the money will be transferred.beneficiary: The recipient of the money transfer.subject: The subject line of the money transfer.
authorization_details types with the Auth0 Dashboard or Management API.
- Auth0 Dashboard
- Management API
To add 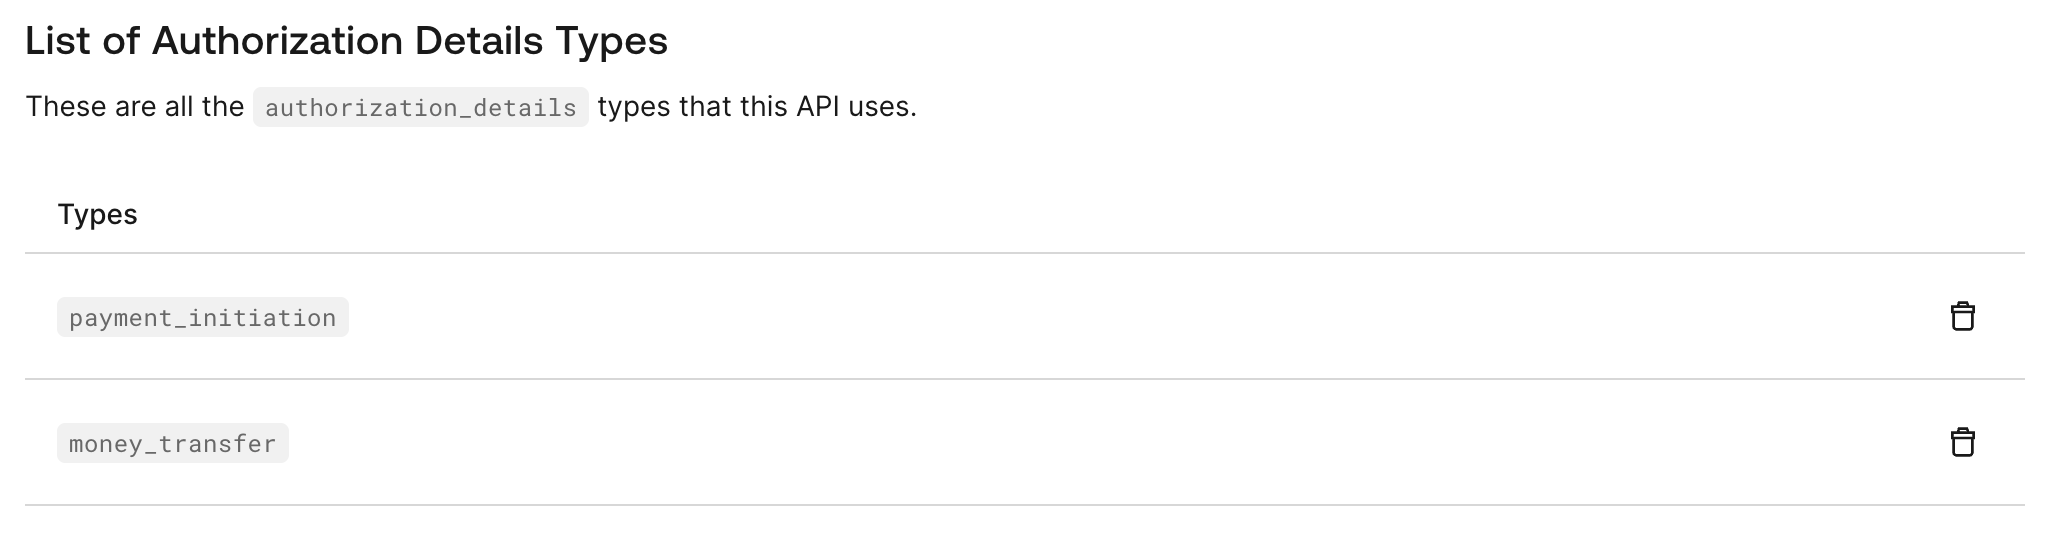
authorization_details in the Auth0 Dashboard:- Navigate to Auth0 Dashboard > Applications > APIs.
- Select the Permissions tab.
- Under Add an Authorization Details type, you can add multiple
authorization_detailstypes for your resource server. Enter anauthorization_detailstype and then select the +Add option.
authorization_details types for your resource server under List of Authorization Details Types:Set customized consent prompt
You can render theauthorization_details of a Rich Authorization Request in the consent prompt. To do so, configure the customized-consent prompt with the appropriate template partials.
You can set the customized consent prompt using the Management API or Auth0 CLI.
Auth0 CLI
To configure the customized consent partials, run theauth0 ul customize command with the appropriate flags in your terminal:
Management API
To configure the customized consent partials, make aPUT request to the /prompts/customized-consent/partials endpoint:
authorization_details in the following consent prompt that Auth0 shows to the end user: